
Three upcycled accessories I wear on repeat, plus the little hardware choices that keep them from looking like a craft project.
Cufflinks from mismatched buttons (the shirt upgrade)
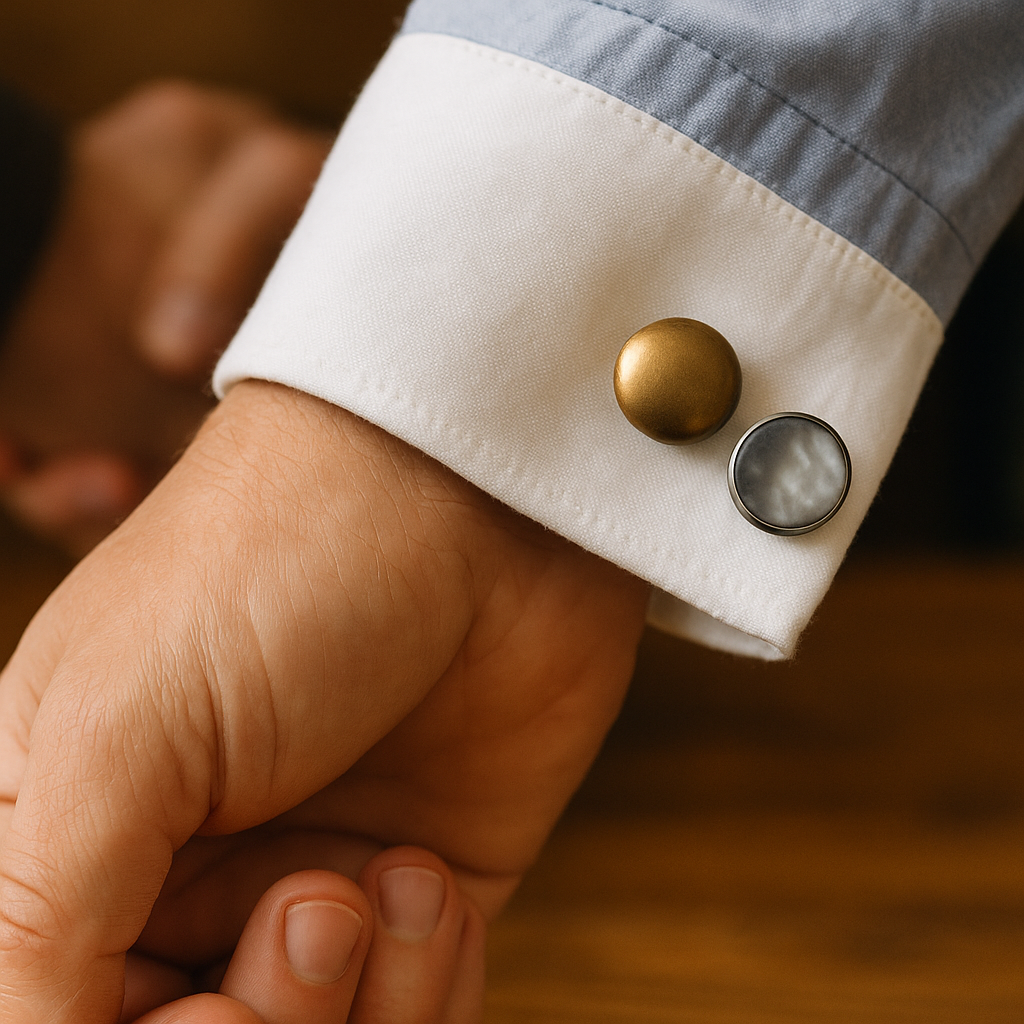
I started doing this after realizing I had a little dish of good buttons that never matched anything: one smoky mother-of-pearl, a single brass dome, a leather-look shank button that came on a coat I no longer own. Instead of waiting for the mythical repair that needs exactly one button, I make them into cufflinks. It scratches the same itch as a vintage find, but it uses what you already have and it hits that accessorizing sweet spot: small, sharp, and right where people notice when you shake hands or hold a drink.
The hardware matters more than the glue. I buy blank cufflink backs with flat pads (usually 12mm to 14mm) and a two-part epoxy, not hot glue. Epoxy gives you working time, and it cures hard enough that you don’t get that slow wobble after a few wears. If your button has a shank, snip it off with flush cutters and sand the back lightly so the pad has something to bite into. For flat buttons, I rough up the cufflink pad instead. Then: tiny dab of epoxy, press, and park them face-down on a piece of painter’s tape so they don’t slide while curing.
My favorite pairing is intentionally not a set but still related: two different mother-of-pearl buttons in the same tone, or two metals that share a finish (brushed nickel with pewter). If you go random-random, it reads like you lost one. If you keep the surface vibe consistent, it reads like you meant it. And when someone asks where you got them, you can say, honestly, “out of my button jar,” which is a great conversation starter and a polite way to avoid naming a brand.
Bandana slide-on for a tote handle that stops the shoulder bite
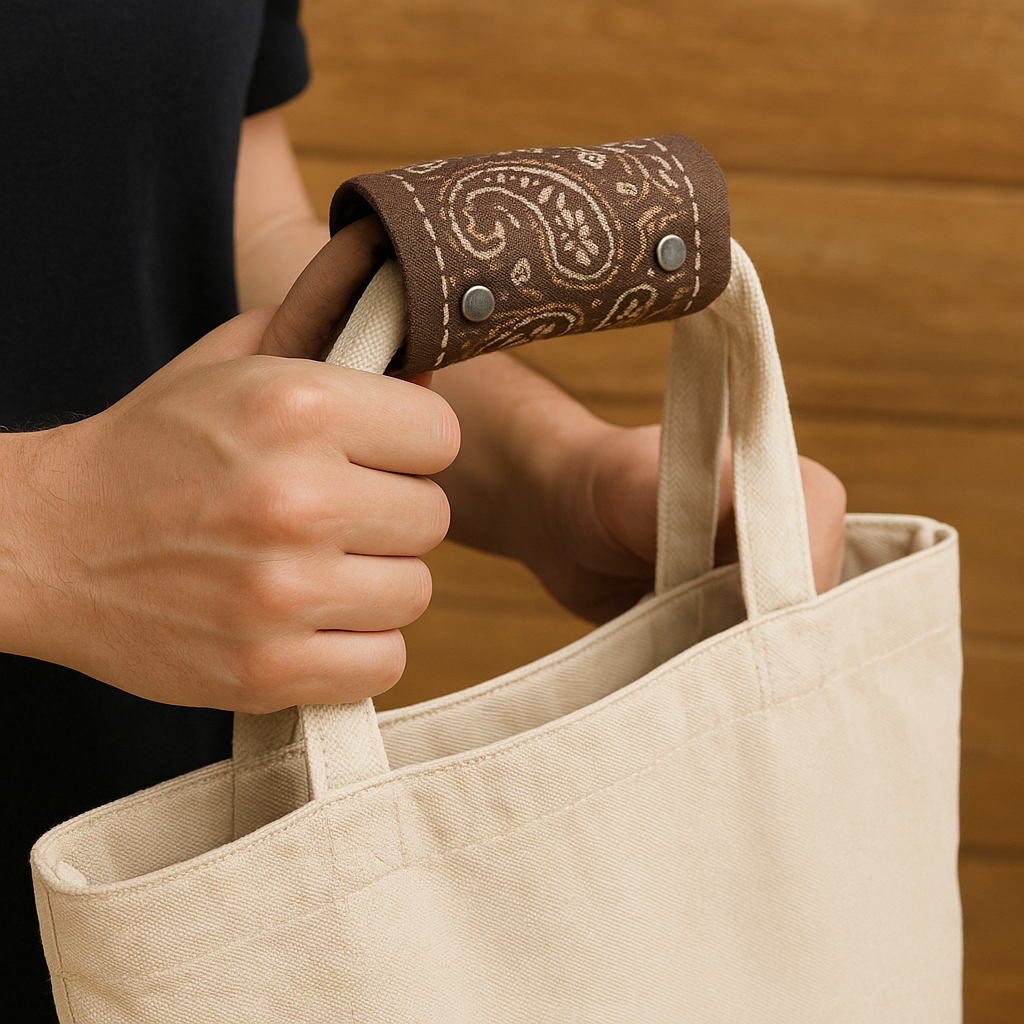
Every tote I love has the same annoying trait: the handles are either too narrow (hello, shoulder dent) or they’re stiff enough to feel like a belt. I used to do the obvious thing and tie a bandana around the strap, but the knot always migrates right into my collarbone. The version I’ll keep is a slide-on wrap made from an old bandana or a soft cotton scarf that’s past its prime. It’s a tiny piece of styling that reads intentional, and it’s one of the few upcycled add-ons that earns its keep by being comfortable.
Here’s the move: cut a rectangle about 5 inches by 10 inches from the bandana, then fold it lengthwise so the finished width is around 2 inches (wide enough to pad, narrow enough to look neat). Press it with an iron if you have one. Sew or fabric-glue the long edge into a tube, then turn it right-side out like you’re making a baby version of a pillowcase. Now you’ve got a sleeve that slides over a tote handle with no knot at all. If your handle is thick, make the tube wider. If it’s thin, keep it snug so it doesn’t bunch.
Closures are where this goes from craft fair to “I’d buy that.” I add two small sew-on snaps (one near each end) so I can close the sleeve around a handle that’s stitched in place. Velcro works but it catches fuzz and starts looking tired fast. Snaps stay flat, and they don’t add bulk. If you don’t sew, a local dry cleaner can pop snaps on in two minutes, and it usually costs less than replacing the tote you were trying to make livable.
Pattern choice is the style lever. A classic red paisley can look costume-y if the rest of your outfit is already loud. I reach for washed black, indigo, or a faded brown print, and I let the wrap be the one soft thing against a structured bag. It’s a small detail, but it changes how you carry the whole look.
Leather key fob cut from a dead belt, finished like store-bought
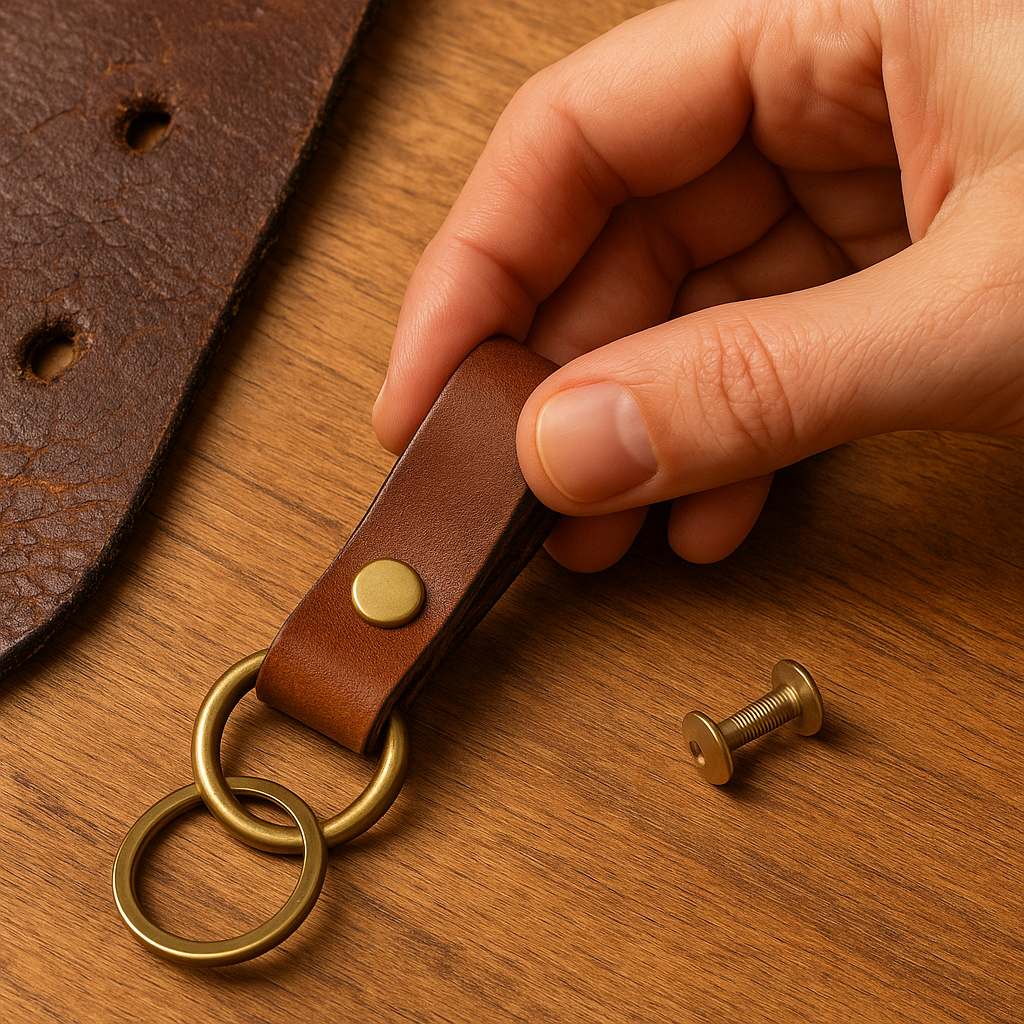
I didn’t make my first key fob because I wanted a DIY project. I made it because I was sick of digging for keys in a big bag and every cute keychain I liked had cheap plating that turned weird in a month. The fix was sitting in my closet: a leather belt with a cracked hole section but perfectly good leather everywhere else. Belt leather is thick, it wears well, and it has that weight that makes an accessory feel legit in your hand.
Cut a strip about 3/4 inch wide and 8 inches long from a clean section of belt. Round the two ends with scissors or a craft knife so it looks finished, not chopped. Fold it in half, mark the fold, and punch a hole near the ends for a rivet or Chicago screw (those two-piece posts that tighten together). I prefer a Chicago screw because I can take it apart later if I swap key rings. A basic set plus a small punch runs about $18 online, and you’ll use it for years, not just for this one thing.
The part people skip is the edge work, and it’s exactly why some homemade leather bits look homemade. After you cut, sand the edges lightly (220 grit is fine), then burnish them. You can do it with a little water and a scrap of denim, or gum tragacanth if you already have it. Rub until the edge darkens and smooths out. It takes five minutes and it’s weirdly satisfying because you can feel the edge go from fuzzy to slick. If you want a darker edge, a little brown edge paint is nice, but you don’t need it.
Match your metal to what you carry every day. If your keys live next to a stainless steel water bottle, silver hardware looks natural. If you’re a brass-zipper person, go brass here too. When you clip it to a bag, it should look like it belongs with the rest of your hardware, not like a random add-on you found at the bottom of a drawer.